If skiing is your thing, waiting for the next ski season to get into full swing might be too much to ask. And if you had your way, you’ll grab your GoPro and zoom off to have fun with some winter activities – with the right mounts and setting before going down the slopes.
Are you wondering how to attach GoPro to ski helmet? If you’re an expert when it comes to skiing, you will understand what helmet-mounted GoPros bring to the table. Every skier seems to have one. Here is the thing – if you’re in the habit of using one for all your footages, your videos will be as dull as anything you could see it. You’ll have to learn how to attach your GoPro to your ski helmet if you want the best video quality at all times.
Helmet mount can be a great idea as regards free shooting with your GoPro cameras. But certain factors come to play when choosing a helmet mount. There are ways to make the most of your action camera and mount for perfect skiing experience.
Before we delve into the nitty-gritty of attaching your GoPro ski helmet mount, let understand what GoPro does for skiing.
| Name | Product | |
|---|---|---|
| GoPro Fusion | Camera | PRICING |
| GoPro HERO5 Session | Camera | PRICING |
| GoPro HERO8 | Camera | PRICING |
| GoPro Grab Bag | Camera Mounts | PRICING |
| Adhesive Mounts | Camera Mounts | PRICING |
| GoPro Vented Helmet Strap | Camera Mounts | PRICING |
| GoPro Side Mount | Camera Mounts | PRICING |
| SoPro Full Face GoPro Mount | Camera Mounts | PRICING |
| Nordic Flash Camera Tethers | Camera Mounts | PRICING |
| Karma Grip | Stabilizer | PRICING |
| Removu S1 | Stabilizer | PRICING |
| SANDMARC Pole | Selfie Stick | PRICING |
What is GoPro for Skiing?
This goal was already defined for GoPro cameras, and any model can be used—the GoPro Fusion, GoPro Hero5 Session, GoPro Hero8, etc. Some of them do not need to be housed as they’re waterproof. Otherwise, use in a waterproof case to stay safe from the snow.
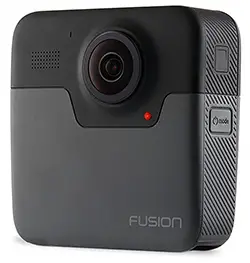
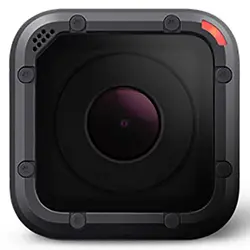
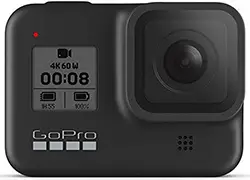
GoPro Fusion (Amazon) GoPro HERO5 Session (Amazon) GoPro HERO8 (Amazon)
Best GoPro Mount for Skiing?
Helmet, surfboard, chest and pole mounts are all perfect for shooting skiing with a GoPro. It may be worth it to carry along 3-way Pivot Arm—it is a type of GoPro mount extension. Some mounting buckles will also be necessary and some mount screws too.
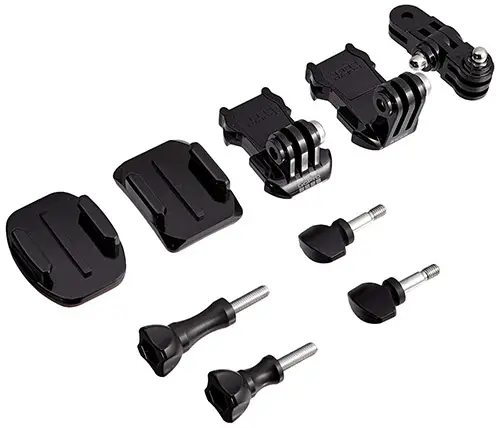
GoPro Grab Bag (Amazon)
If you want to adjust the angle of the GoPro, the pivot arm is important. It is also useful for increasing the height of your GoPro, for instance, when you use the surfboard mount on your ski.
The ideal thing is keeping your GoPro close as much as possible to the object it’s mounted on. But when it’s in the forward direction, you may have to raise it to see over the curved tip of the ski.
How to attach a GoPro to a helmet? Where to mount GoPro on helmet? What is the best GoPro ski helmet mount position? Here are some of the common GoPro mounts for skiing to record your footage.
1. Helmet Mounts for GoPro
The helmet mount safety was put on the line after Michael Schumacher skiing accident back in 2013. It is difficult to tell if the mount was the problem. But if you want to mount your GoPro on your skiing helmet, ensure it is there in case you’re skiing through tree or off-piste. You can mount the camera to the side or on top.
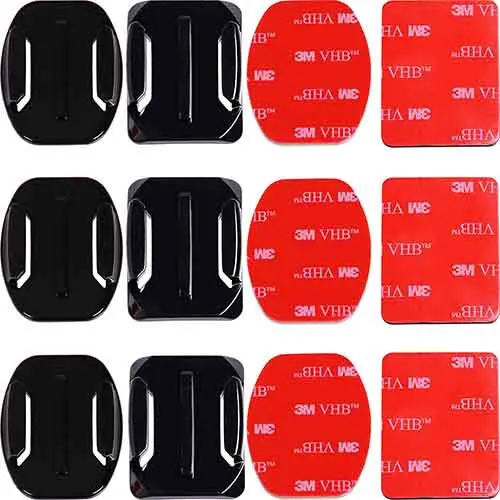
Adhesive Mounts for GoPro Cameras (Amazon)
Some people think that helmet mounts are the best option because you capture the same footage as you see it, but keep in mind that your brain and eye synergize to make a superb stabilization system.
The footage from the helmet-mounted GoPro is not always as good as you envisaged because of how often you looked around.
2. GoPro Vented Helmet Strap Mount
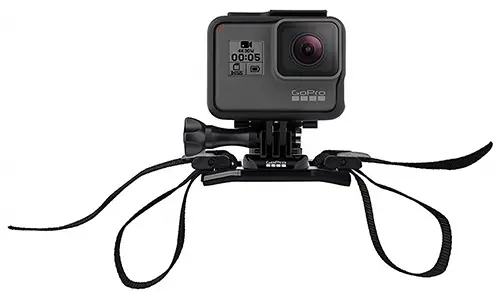
GoPro Vented Helmet Strap (Amazon)
It is very similar to the front mount but uses strap instead of the adhesive. With the Velcro strap, you can mount with ease and dismount too. Even attaching to the strap of the backpack will not cost you a thing.
3. GoPro Side Mount
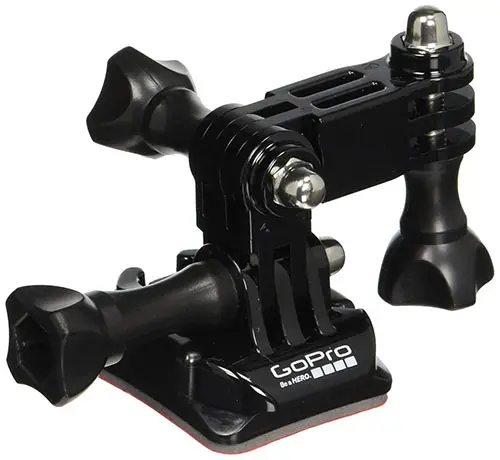
GoPro Side Mount (Amazon)
This mount can be attached to the side of your helmet, and it is an excellent option for skiers and motorist too who do not wear the full-face helmets. With the helmet mount giving you centered angle, the side mount comes with a bit off center angles. The official mount can be attached to all GoPro models.
4. Helmet Chin Mounts
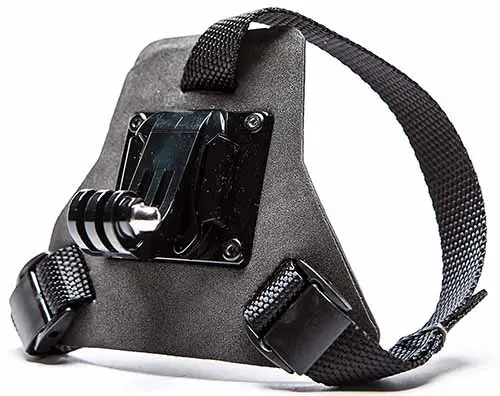
SoPro Full Face GoPro Mount (Amazon)
The user of this mount will have the best of POV angles they can ever ask for. With the chin mount, the shots would seem like they are coming from your eyes, and the viewer is furnished with the most realistic experience. You can attach it with ease with an external mic mounted within the helmet.
You rest assured of the best POV angles with the help of the helmet chin that can be conveniently attached and removed from the type of helmet.
Where to Mount a GoPro for Skiing?The best way to create a skiing movie, whether it is being generated from a GoPro or any camera, is to shoot from different angles. The helmet mount is perfect, but the problem as stated earlier is that your head moves as you proceed down the piste, checking the terrain—with your heads moving left and right. To this end, the final footage will be a jerky and unstable. |
How to Mount a GoPro When Skiing?You must minimize vibration when the GoPro is in use; therefore, attach it as close to the carrier as you can, ensuring that screws are well-tightened. You could make do with some thumbscrew spanners in the market; you could slip one on your keyring to take along. |
GoPro Accessories for Skiing:
1. Use GoPro Tethers
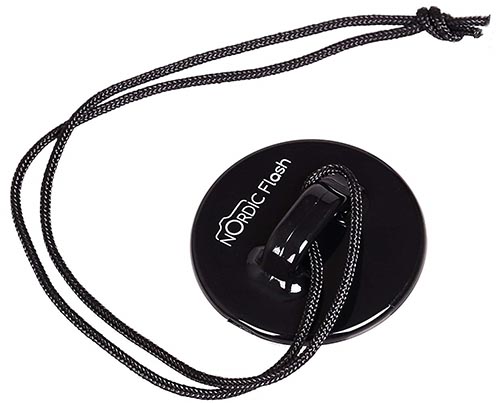
Nordic Flash Camera Tethers (Amazon)
Even though it is not a product of GoPro, tethers are vital fail-safe when you talk of snow sports. They’re more like secondary mount in case the central mount rips off, the GoPro tethered to the second. You can buy them in packs and connect them to the main mount or GoPro via a short cord.
2. Use a Stabilizer
There are quite several stabilizers in the market for GoPro, including the GoPro’s own Karma Grip and Removu S1. If by chance you use any of these, ensure that you attach the wristband when handholding or better still, make use of secondary tether if clipping to a bag.
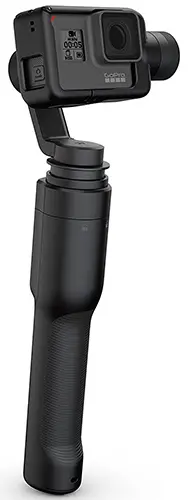
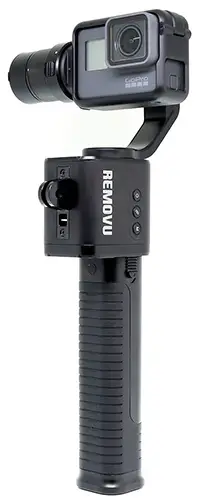
Karma Grip (Amazon) Removu S1 (Amazon)
Have in mind that these gimbals are not going to work any miracle, but they go a long way in enhancing the quality of your footage. They come handy in situations when you want to film the person behind or in front of you.
They’re also useful for getting low-level footage, shooting close to ski or boot level to create ‘B-roll’ video clips.
You may even use one that looks like a selfie stick but ensure that you don’t keep looking at the camera repeatedly if you genuinely want a fantastic skiing video.
3. Use Ski Pole to GoPro
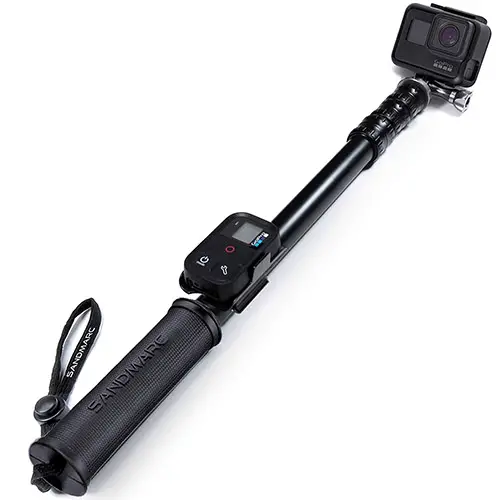
SANDMARC Pole (Amazon)
You can leverage a ski pole like a selfie stick, and as you ski, you GoPro yourself. Get several points of view to experiment with angles. Slow spin the stick for best results and do it in such a way to get a sweeping view as you ski.
A stick mount is another great way to video other skiers. It comes handy for going in close and videoing alongside a skier or in front.
What GoPro Settings for Skiing is Like?GoPro was prepared for this – skiing and they are going above and beyond to demonstrate it. Any time you set your camera to auto-exposure, be sure that it will capture excellent footage – especially when it’s sunny. For overcast conditions, you might improve the exposure a bit. If it is possible, check the footage at break indoors to be sure you’re in line. If you can, tweak the setting a little bit. |
GoPro SuperView to Enhances Your Skiing Footage
With the GoPro SuperView setting, the camera can capture footage at the full height of the sensor and then stretch the edges such that it fills the frame.
Is there anything different about the way GroPro captures video using these features?
GroPro comes with a 4:3 ratio sensor as well as the standard 1080p playback which is a 16:9 ratio meaning the top and bottom of the footage captured is cut off.
As you enable the SuperView, the camera will have no choice than to retain the footage usually cut off from the top to the bottom of the frame and also stretch the edges to fill the gap. Cool feature, right?
This is a perfect option for skiing in which the GoPro can move and be knocked, and when you edit your footage, there will be enormous scope for you to crop the frame to capture the action at the end of the day.
High Frame Rates of GoPro to Capture the Skiing Action
Then you’ll get smoother footage as long as the frame rate is pretty fast—the faster it is the smoother the footage. As you’re skiing, the scenery will be shooting past you, so you required a fast frame rate to keep up and prevent a jerky move. Otherwise, the whole experience may not be as exciting as you desire.
Make sure you set the camera to 60fps as a base frame rate—this is perfect for skiing. If you wish to capture a turn or jump in slow motion, increase it to 120fps.
The quality of the video may drop slightly at 120fps. However, slow motions are fantastic.
Connect to the App
If you bring it along, ensure that your phone and GoPro are paired and ready to rock. Check composition with the live view feed on the app. Again, the app works perfectly to check through the day’s skiing.
Shoot Skiing Time-Lapse
It can be fun shooting GroPro Time-lapse video. It works perfectly with skiing. Take, for example, capturing a full run in double time.
When you want to start a black run or mogul field, let the time-lapse start running and make your run. You could also opt for something more glamorous, why you shoot as you enjoy Après-ski in the sunset.
Ensure You Got Spare BatteriesIt is almost certain that you’ll be on the slopes all day, ensure that you have extra batteries. There is nothing as painful as missing out on the last jump of the day—only because your battery went flat. That has a way of ruining the entire adventure. Note that the cold will always affect the condition and charge of the battery. The colder the GoPro, the less time you’ll get out of it. Make sure that your spare batteries are kept in an inner pocket, so they are dry for the great work ahead—and ready to use. |
Voice activationThey all have voice activation—GoPro Hero5, Hero6, and Hero7 Black—and can be very useful while on the slopes. This has a way of elevating the entire skiing experience. |
Using a GoPro Skiing
Whichever way you choose to mount your GoPro, the critical thing here is getting great footage—and that can be possible by varying your angle of the shot.
In case you have more than one GroPro to yourself, you can shoot from different angles at a time. The only alternative is by moving your camera to different positions, or you could move between the mounts. That will be the ideal thing to do at this juncture.
The truth is you want to shoot the same run at many time as possible or runs in conditions that are quite similar. You have some continuity with this when editing the video and cut in between the angles of the video.
When editing a video together, you may require a few seconds from some angles; that will make your footage more dynamic and exciting.
If you want to video other skiers, you must shoot from a closer range than you expect it would appear larger in the frame.
It is pretty tricky keeping up with a fast skier when you hold a camera on a gimbal or pole. It is advisable to go for a less challenging slope and keep your speed down a bit. If it is possible, ski in-front and either side for a while—it will allow you to get footage from all angles.
Skiing can be such an enthralling adventure. If you genuinely want to take it to the next level, attach your GroPro to your helmet and film your activities. The fun that comes with it is enthralling and makes you want to do it over and over again. But you must first perfect your skill at attaching a GroPro, which this piece provides in great depth.
You may also like: